Despite what was once believed, MCS is a scalable and realistic option for XenDesktop VDI deployments. This document will show you how to deploy a XenDesktop 7.5 virtual machine using VMware and Citrix Machine Creation Services (MCS). This documentation also assumes that the published desktop will be a non-persistent desktop.
[wp_ad_camp_1]
- First, create what you would consider to be your Gold Image in VMWare. This is the image that your XenDesktop users will use.
- Install the VDA Agent and the version of Citrix Receiver that your organization prefers into this image as well.
- Shutdown the Machine
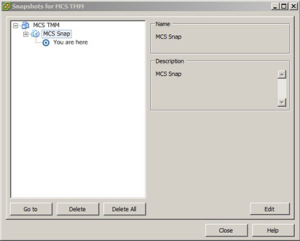
- Use VMware to take a snapshot of the machine by right clicking on the Virtual Machine in the VMWare console. Then choose Snapshot and then click Take Snapshot
- Verify the snapshot is there by right-clicking on the Virtual Machine, Choosing Snapshot Manager and click Take Snapshot.
- Then Right-click on the Virtual Machine, Choose Snapshot Manager and verify that you see your snap
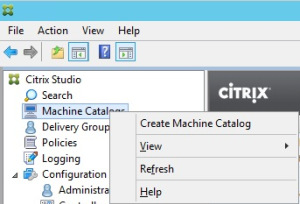
- Go to your Delivery Controller and open Citrix Studio
- Right-click on Machine Catalogs and then click Create Machine Catalog
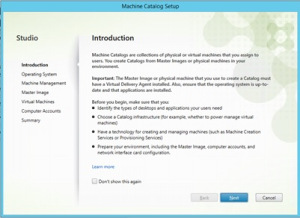
- Click Next
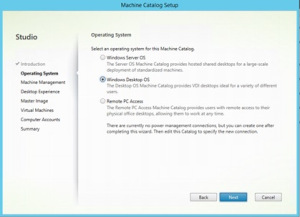
- Choose Windows Desktop OS and click Next
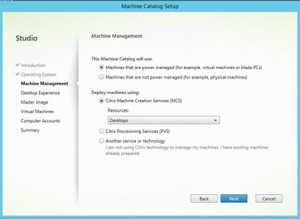
- Choose Citrix Machine Creation Services (MCS) and click Next
- Choose “I want users to connect to a new (random) desktop each time they log on” and click Next
Note: We are choosing this because this machine will be a non-persistent desktop.
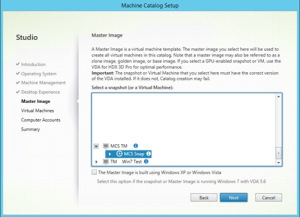
- Choose the snap made in VMWare and click Next
- Choose your NIC and Network, click Next
- Choose the appropriate resource settings for your virtual desktop. Depending on your requirements this will be one or two vCPU’s, minimum of 4GB of RAM, 40GB+ hard disk space and click Next.
Note: The settings noted above are a good starting point, but will vary depending on the Operating System you are running and the applications that will be installed or published to this machine.
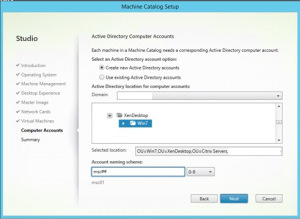
- Fill in as shown below. This will create the machine accounts in the Active Directory OU of your choice. Once complete, click Next
- Fill in a Machine Catalog name and click Finish
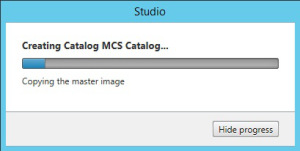
- This will take some time, but the following prompt will appear while it is creating the catalog
- Once complete, there will be a machine catalog for these workstations
Watch for Part 2 which will cover how to create a delivery group to finish deploying an image to your user.





Hello Shouldnt we have the Golden VM online after to avoid having it outside of the domain and lose its registration after 30 days?
I personally like to shut it down, so that it doesn’t inadvertently get used for something unintended. If it loses it’s domain registration it is ok to login locally and remove/read to the domain.
I don’t join the machine to domain in the first place. It has no bearing on whether the created machines can be joined to the domain.