by Theresa Miller
So, it was finally time to rollout SHA2 certificates for your Citrix environment. After doing so, you test your applications by launching your favorite Citrix XenApp Application. To your surprise, the application will not open and returns an SSL Error 61. Now what, what can be done to fix this issue?

Check your Trust Root or Intermediate Certificate
One of the likely causes is that the PC you are working on is missing it’s Trusted Root or Intermediate Certificate. Your certificate provider can let you know which certificate type they use. How do we make sure these are in place? This can be done manually per PC as shown in the example below, or automated per the following Microsoft article (https://technet.microsoft.com/en-us/library/cc754841.aspx). Here are the steps to update an individual PC using a Digicert root certificate. Note that these steps would be similar for most certificate providers.
————————————————————————————————
Advertisement:
Monitor/Access your virtual servers, workstations & data using Citrix XenDesktop with 24×7 support and a 99.9% uptime guarantee through CloudDesktopOnline. To know more about QuickBooks Hosting on Citrix XenDesktop, visit Apps4Rent.
————————————————————————————————
1) Open Internet Explorer go to https://www.digicert.com/digicert-root-certificates.htm
2) Download the Intermediate Certificate called “DigiCert SHA2 High Assurance Server CA” or the appropriate certificate for your environment and save your PC or a network location
3) Go to Start, Search from your Windows 7 workstation
4) Type MMC and press enter
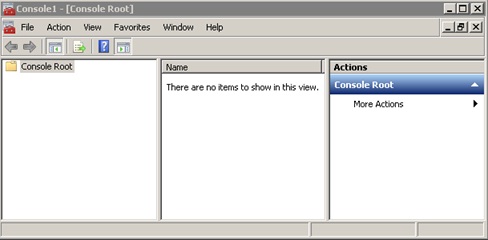
5) From the menu select, Add/Remove SnapIn
6) Select Certificates and click “Add”, then click OK

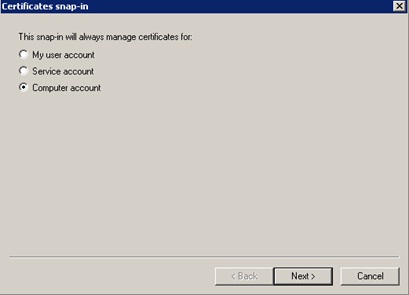
7) Choose Computer Account and click Next
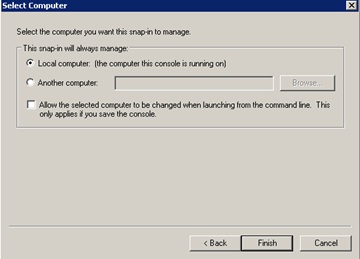
8) Choose Local Computer and click finish and click OK
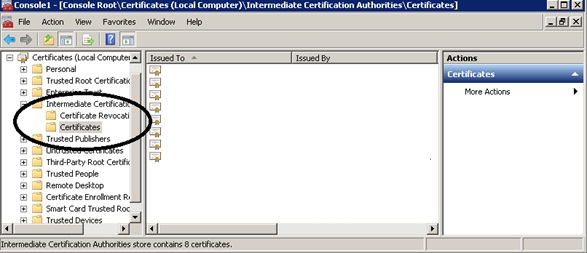
9) Expand Intermediate Certificates and click on Certificates.
10) Right-click on Certificates, then selectAll Tasks, and click Import
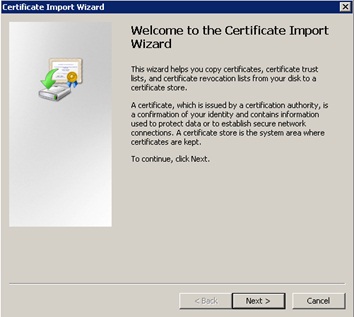
11) Click Next on the Certificate Import Wizard
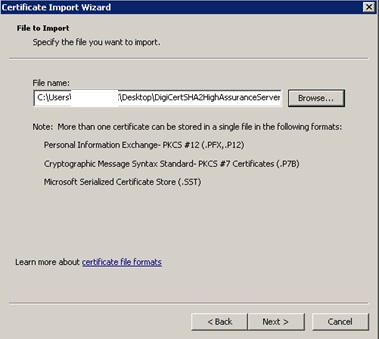
12) Click Browse and go to the location of the downloaded certificate and then click Next
[wp_ad_camp_1]
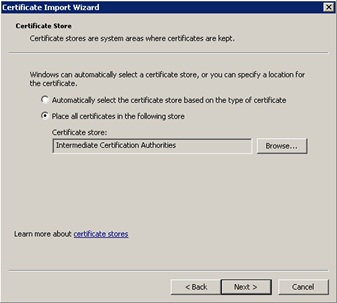
13) Click Next
14) Click Finish
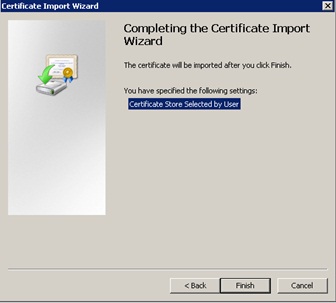
15) Test the application to verify the SSL Error 61 error has gone away
If the error didn’t go away or if the certificates were already set the way that should have been, then the next stop is to look at your version of Citrix Receiver.
Citrix Receiver
Updating to the latest Citrix Receiver version will typically resolve the issue once the certificates are in place. Here is the link to Citrix Receiver for Windows http://www.citrix.com/go/receiver.html?posit=glnav, and here is the latest version for a MAC http://www.citrix.com/downloads/citrix-receiver/mac.html
Say Goodbye to SSL Error 61!
Thank you very much for this! Problem solved on my mac.
Lol, these are instructions for a Windows 7 PC. Not a MAC
The bottom of the post addresses this issue for a MAC too
Hello,
Where can I find the post addressing this issues for MAC?
Thanks
On a MAC just simply install the latest receiver. There is a link in the post to Receiver for MAC at the bottom.
thanks. fixed Windows 7 with your instructions and the lousy Microsoft “help” sections. could not have done it without your help.
Thank you very much Theresa! I am using Windows 10 and IE11 – this was just what I needed to get to our IE resources via Citrix.
Glad it was helpful to you!
Thank you very much.. !!!
I was able to resolve this error just following your well and self explanatory steps.
You made me look good in my team.. while some of my team were avoiding to take this case.
Thanks again.
Glad it was helpful!
Thanks, after installing the trusted cert, the error still came up. I found this and installing the latest citrix receiver fixed the problem. Thanks
Thanks! I ran into error 61 about 6 months ago, my IT support were useless, a few google searches told me things like ‘it’s a server side thing’ or ‘updating the Citrix receiver usually solves this’.
I’ve just been getting by without my Citrix access, but decided to try again today and you’ve solved it for me.
Thanks again
Thank you very much.. !!! Its resolved !!!