
As companies are navigating leveraging remote workloads with employees primarily working remote it may be time to start considering how you are going to remotely deploy your desktops. Not only is this a great option when staff is primarily remote, it’s a great option for disaster recovery too. One of the options available to enterprises today is Windows Virtual Desktop (WVD). Let’s take a look at the steps that will get you setup Azure WVD (Windows Virtual Desktop).
Getting Started and Permissions Checklist
Make sure you have these things before getting started with creating your WVD tenant.
- Azure Active Directory tenant ID
- A global administrator account within the Azure Active Directory tenant.
- Azure subscription ID
- Enter the following URL into your web browser and replace {tenant} with your Azure AD domain name
https://login.microsoftonline.com/{tenant name}/adminconsent?client_id=5a0aa725-4958-4b0c-80a9-34562e23f3b7&redirect_uri=https%3A%2F%2Frdweb.wvd.microsoft.com%2FRDWeb%2FConsentCallback
- Assign the Tenant Creator Application Role
Create a Windows Virtual Desktop (WVD) Tenant
Now that the permissions are set in place it’s time to create your WVD tenant in Azure. We will use PowerShell.
- First, download and import the Windows Virtual Desktop moduleto use in your Powershell session if you haven’t already.
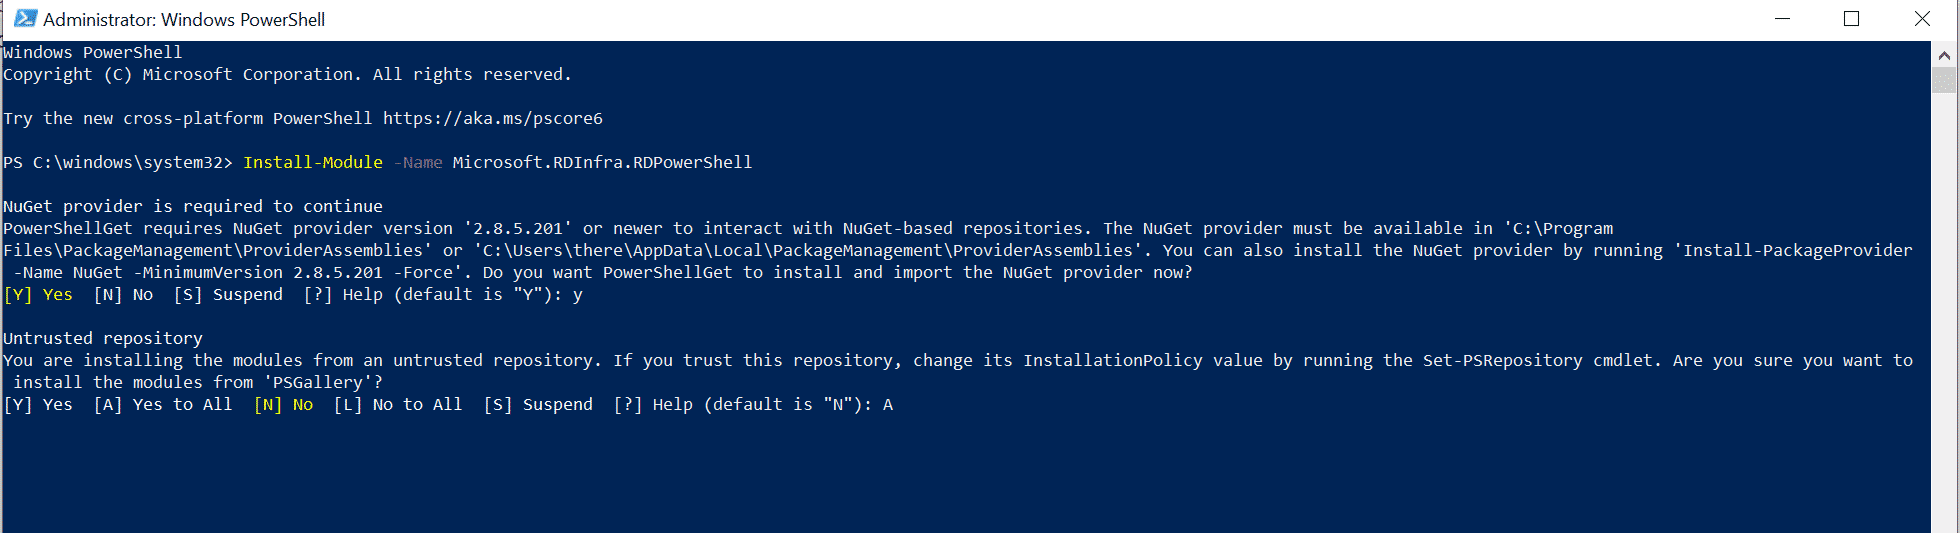
- Open PowerShell and type the following Install-Module -Name Microsoft.RDInfra.RDPowerShell Also shown for my tenant in the figure below.
Note: You may need to first import the module before installing. using this command. Import-Module -Name Microsoft.RDInfra.RDPowerShell
- Next, sign in to Windows Virtual Desktop by using the TenantCreator user account with this PowerShell command: Add-RdsAccount -DeploymentUrl https://rdbroker.wvd.microsoft.com See how this looks when setting it up in my tenant in the image below.

- Create a new Windows Virtual Desktop tenant associated with the Azure Active Directory tenant by using the following command. Setup your RDS tenant by filling in your Azure tenant information for the bracketed items below, and then running the command.
New-RdsTenant -Name {tenant name} -AadTenantId {Azure AD Tenant ID} -AzureSubscriptionId {Azure Subscription ID}
Setup Azure WVD Second Tenant Admin
If you are ever sick, plan to take a vacation, have a backup administrator it is also a good practice to get them setup a second tenant admin. This can be done via PowerShell using the following commandlet.
New-RdsRoleAssignment -TenantName <TenantName> -SignInName <Upn> -RoleDefinitionName “RDS Owner”
Wrapping things up
This concludes getting your started with how to setup an Azure Windows Virtual Desktop for today, but watch for part 2 where we finalize the process and get your creating virtual desktops in Azure soon!